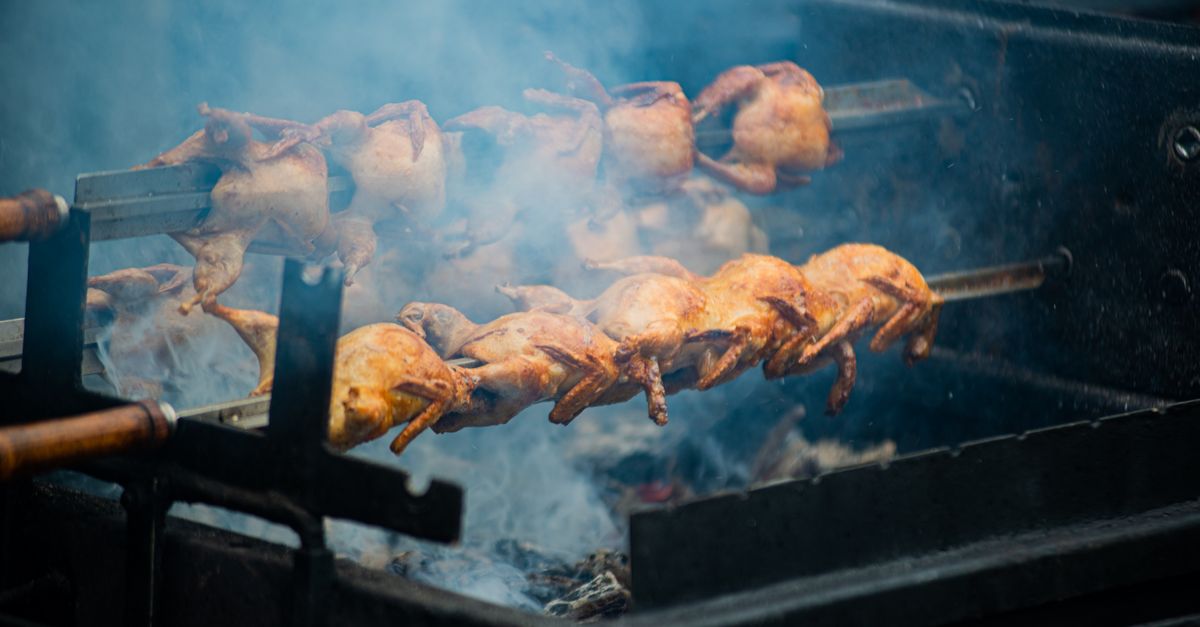
Every time I visit a friend’s house for dinner and they’ve attempted a roasted chicken, I see the same issues: pale, rubbery skin, dry breast meat, and sometimes even undercooked thighs. It’s a classic dish, a staple of comfort food, yet it’s one of the most consistently messed-up items in the home kitchen. I used to make these mistakes myself, religiously following recipes that promised perfection but delivered mediocrity. I’ve heard the despairing sighs from countless home cooks who just want that golden-brown, crackling skin and fall-off-the-bone juiciness they see in magazines. The truth is, many popular roasting methods, while well-intentioned, often miss crucial steps that differentiate a decent chicken from a truly spectacular one. It’s not about expensive equipment or exotic ingredients; it’s about understanding a few fundamental principles that most recipes overlook.
Key Takeaways
- Pat your chicken aggressively dry and salt it generously, even overnight, to draw out moisture and ensure crispy skin.
- Spatchcocking or breaking down the chicken allows for more even cooking, preventing dry breasts and undercooked thighs.
- Use a high initial oven temperature to jumpstart skin crisping, then lower it for thorough, gentle cooking.
- Don’t overcrowd your roasting pan; proper air circulation is essential for an all-over golden crust.
The Moisture Trap: Why Just Patting Dry Isn’t Enough
When I first started roasting chickens, I’d diligently pat the bird dry with paper towels, feeling quite virtuous about my attention to detail. Yet, my skin would still come out flabby and disappointing. The mistake I see most often, and one I made for years, is underestimating the sheer amount of moisture trapped in and on a chicken’s skin. Even after a thorough pat-down, there’s still significant surface moisture and residual liquid beneath the skin. This moisture creates steam in the oven, effectively steaming the skin instead of allowing it to crisp. What changed everything for me was realizing that true dryness takes time and a little help.
My recommendation is to salt your chicken liberally and leave it uncovered in the refrigerator for at least 8 hours, ideally 24-48 hours, before roasting. This isn’t just about seasoning; it’s a profound method for dehydration. The salt draws moisture out of the skin and meat through osmosis. This moisture then evaporates in the cold, circulating air of the refrigerator. By the time you’re ready to roast, the skin will feel noticeably drier, almost parchment-like. This head start on dehydration is absolutely critical for achieving that shatteringly crisp skin. I typically use about 1 tablespoon of kosher salt per 3-4 pound chicken, rubbing it all over the skin and inside the cavity. Don’t worry about it being too salty; much of the salt will dissolve and penetrate the meat, seasoning it deeply, while the surface salt helps with the drying process.
The Uneven Cook: Why Whole Roasting Often Fails You
Roasting a whole chicken, in its traditional intact form, is inherently problematic. The breast meat, being lean, cooks much faster than the fattier, denser thigh and leg meat. This means that by the time your thighs are cooked through and tender, your breast meat is almost certainly overcooked and dry. This is the single biggest culinary tragedy in chicken roasting. For years, I struggled, trying to pull the chicken at just the right moment, only to find one part perfect and another lacking.
The game-changer for me, and what I recommend to everyone, is spatchcocking the chicken, or butterflying it. This involves removing the backbone and flattening the bird. It’s surprisingly easy – just use a good pair of kitchen shears to cut along both sides of the backbone, then flip the bird over and press firmly on the breastbone to flatten it. The benefits are manifold: first, the chicken cooks more evenly because the breast and thighs are on a similar plane, exposed to heat more uniformly. Second, more skin is exposed to the direct heat, meaning more crispy bits for everyone. Third, it shaves significant time off the overall cooking duration, often reducing it by 25-30%. If spatchcocking feels daunting, consider simply breaking the chicken down into quarters or eighths before roasting. This allows you to remove the breast meat from the oven when it’s perfectly done, letting the darker meat continue cooking until it reaches peak tenderness. I’ve seen recipes that suggest covering the breast with foil during cooking, but this just steams the skin, defeating the purpose of crispness.
The Temperature Tango: Getting the Oven Heat Right
Most recipes will give you a single oven temperature for roasting a chicken, typically somewhere between 375°F and 425°F (190°C to 220°C). While these temperatures are fine, they often don’t optimize for both crispy skin and juicy meat simultaneously. The mistake I see is not understanding how temperature manipulation can transform your roast. A single, static temperature doesn’t account for the different needs of the skin versus the meat.
My approach, refined over countless chickens, is a two-stage temperature method. Start your oven at a much higher temperature – think 450°F (230°C) – for the first 15-20 minutes. This intense initial burst of heat provides the thermal shock needed to aggressively render the fat in the skin and kickstart the Maillard reaction, developing deep browning and crispness. Then, reduce the oven temperature to a more moderate 375°F (190°C) for the remainder of the cooking time. This lower temperature allows the interior of the chicken to cook through gently and evenly, preventing the breast from drying out while the thighs catch up. This method essentially gives you the best of both worlds: a blistering hot start for the skin, and a controlled finish for the meat. Always make sure your oven is fully preheated before putting the chicken in; a cold oven will sabotage your efforts.
The Crowded Pan Conundrum: Don’t Suffocate Your Bird
It’s tempting to pack your roasting pan with vegetables – potatoes, carrots, onions – to cook alongside the chicken, turning it into a one-pan meal. While convenient, this is often a recipe for disaster when it comes to achieving truly crispy skin. The mistake I see is overcrowding the pan, which hinders air circulation and promotes steaming rather than roasting.
What actually works is giving your chicken ample space in the roasting pan. Ideally, the chicken should have at least an inch or two of space around it on all sides. If you’re spatchcocking, you might need a larger baking sheet rather than a traditional roasting pan. Ensure your pan isn’t too deep, as high sides can block air circulation around the lower portions of the chicken. If you must roast vegetables with your chicken, consider roasting them on a separate pan, or if you absolutely need them in the same pan, ensure they are in a single layer and not touching the chicken or each other excessively. Even better, pre-roast your vegetables partially before adding the chicken, or add them halfway through the chicken’s cooking time, ensuring they aren’t releasing too much moisture and steaming the chicken. A wire rack placed inside your roasting pan is also incredibly helpful, lifting the chicken slightly and allowing hot air to circulate all around the bird, preventing a soggy bottom.
The Rest Period Revelation: Why Patience is a Virtue
I used to pull the chicken from the oven and immediately carve into it, eager to get dinner on the table. The result? Juices gushing onto the cutting board, leaving the meat disappointingly dry. The mistake I see most often is skipping or shortening the rest period. It feels counterintuitive to let a perfectly cooked, hot chicken just sit there, but it’s a non-negotiable step for truly juicy meat.
Allowing the chicken to rest, tented loosely with foil, for 15-20 minutes after it comes out of the oven is crucial. During cooking, the muscle fibers contract, pushing the juices towards the center of the bird. If you cut into it immediately, those juices escape. Resting allows the muscle fibers to relax and reabsorb those precious juices, redistributing them throughout the meat. This means every bite will be significantly juicier and more flavorful. Don’t skip this step. Trust me, those extra minutes of anticipation are worth it for the drastically improved texture and moisture content of your chicken.
Frequently Asked Questions
What internal temperature should a whole roasted chicken reach?
The safe internal temperature for cooked chicken is 165°F (74°C). However, for a whole chicken, I recommend pulling it from the oven when the thickest part of the thigh (without touching the bone) reaches 170-175°F (77-79°C). The breast meat will usually be around 160-162°F (71-72°C) at this point. The temperature will continue to rise during the resting period due to carryover cooking, ensuring both the breast and thighs reach safe temperatures while keeping the breast juicy.
Can I brine my chicken instead of salting it in the fridge?
A wet brine will definitely help with moisture retention in the meat, leading to a juicier chicken. However, it can make it harder to achieve truly crispy skin because the skin absorbs extra moisture from the brine. If crispy skin is your top priority, I find the dry-brining method (salting and refrigerating uncovered) to be superior. If you do wet brine, make sure to dry the chicken exceptionally well after removing it from the brine.
What kind of roasting pan should I use?
I prefer a sturdy, heavy-gauge sheet pan with a wire rack for spatchcocked chickens. This allows for maximum air circulation around the entire bird, promoting crispness. If roasting a whole, intact bird, a traditional shallow roasting pan is fine, but still try to use a rack to lift the chicken off the bottom. Avoid pans with very high sides, as they can trap steam.
How do I prevent the chicken from smoking up my kitchen at high temperatures?
Smoking can occur if there’s old residue on your roasting pan or if rendered fat is burning at the bottom of the pan. To minimize this, ensure your pan is clean. You can also add a small amount of liquid (like chicken broth or water) to the bottom of the pan before roasting, which will evaporate and prevent the drippings from burning too quickly, while also contributing moisture to your pan juices for gravy.
Can I stuff my chicken for flavor?
While stuffing can add flavor to the cavity, it significantly increases cooking time and can make it harder for the chicken to cook evenly, especially for the stuffing itself to reach a safe temperature. I generally recommend against stuffing a whole chicken, particularly if you’re aiming for crispy skin and perfectly cooked meat. Instead, consider roasting aromatics like lemon halves, garlic cloves, or herbs around the chicken in the pan, or simply inside the cavity without actually filling it with a bread-based stuffing.
Mastering the roasted chicken isn’t about complexity; it’s about precision and understanding what the chicken truly needs at each stage. By focusing on moisture management, even cooking, temperature control, and proper air circulation, you can banish dry breasts and rubbery skin forever. The next time you crave that iconic comfort food, remember these simple yet profound adjustments. Your family (and your taste buds) will thank you. Now go forth, and roast the best chicken of your life!