Why Most Home Cooks Overcook Chicken Breast (And The Simple Fixes That Guarantee Juicy Perfection)
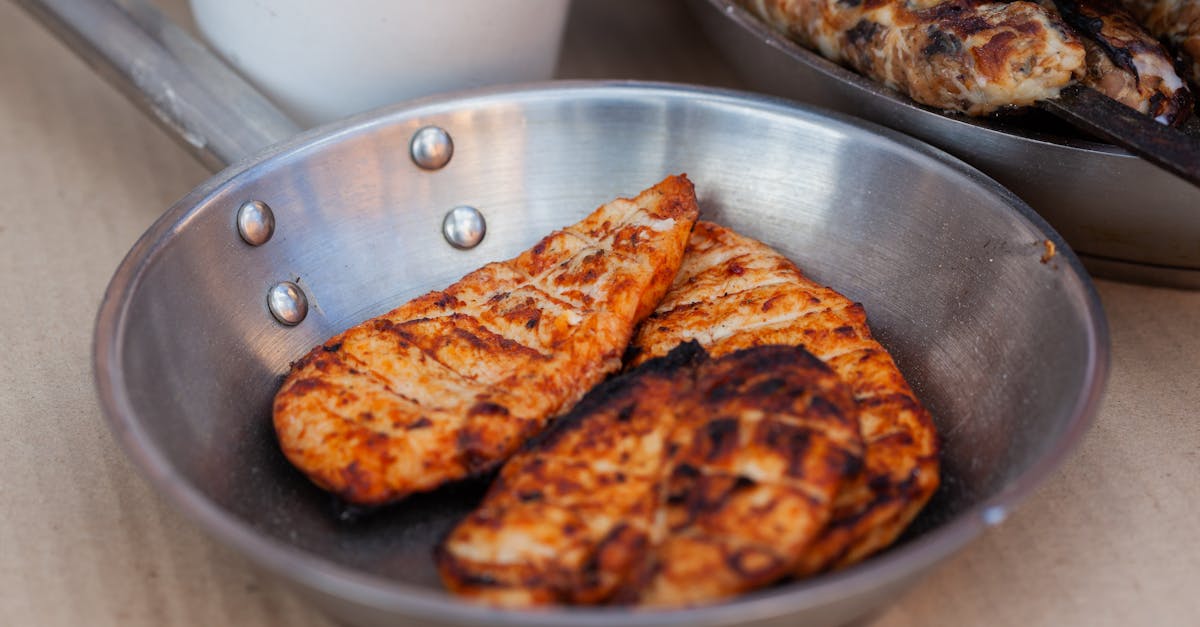
You’ve been there. You pull a beautifully seared chicken breast from the pan, convinced it’s going to be the centerpiece of a delicious, healthy meal. But the moment your knife slices through, revealing that tell-tale dry, stringy interior, a wave of disappointment washes over you. Despite your best efforts—following recipes, using a timer—the chicken is tough, flavorless, and far from the succulent experience you craved. This isn’t just about a slightly dry meal; it’s about wasted effort, diminished enjoyment, and often, a reluctance to cook chicken breast again, labeling it as inherently bland or difficult. In my experience, this common culinary frustration stems from a few deeply ingrained habits and misconceptions about chicken, not a lack of cooking skill.
What if I told you that achieving perfectly juicy chicken breast every single time is not only possible but surprisingly simple, requiring just a few shifts in your approach and a deeper understanding of the science at play? It’s not about magic; it’s about precision and patience.
Key Takeaways
- Embrace an instant-read thermometer as your ultimate tool for perfectly cooked chicken, aiming for 160°F (71°C) before resting.
- Always brine your chicken breasts, even for just 30 minutes, to dramatically improve moisture retention and tenderness.
- Prioritize even thickness in your chicken breasts through pounding or butterflying to ensure uniform cooking.
- Implement a crucial resting period after cooking to allow juices to redistribute, preventing dry meat.
The Temperature Trap: Why ‘Cook Until No Longer Pink’ is a Recipe for Disaster
The single biggest culprit behind overcooked chicken breast, in my professional opinion, is the reliance on visual cues rather than internal temperature. For generations, home cooks have been taught to cook chicken “until no longer pink in the middle” or “until the juices run clear.” While these are loose indicators of doneness, they are incredibly imprecise and almost universally lead to overcooking. By the time the last vestige of pink disappears from the center of a chicken breast, its internal temperature has often soared past the safe threshold of 165°F (74°C) and continued climbing, leaving you with dry, chalky meat.
The critical insight here is carryover cooking. Meat continues to cook for several minutes after it’s removed from the heat source. For a chicken breast, if you pull it from the pan at exactly 165°F, it will likely climb to 170°F or even higher during resting. This might not sound like a huge difference, but when you consider that chicken breast starts to lose significant moisture and tighten up around 160-165°F, every degree beyond that is a step towards dryness. What changed everything for me, and what I recommend to every home cook, is to pull your chicken breast from the heat when its internal temperature reaches 160°F (71°C), measured with an instant-read thermometer at the thickest part. The residual heat will safely bring it up to 165°F during the resting period, guaranteeing maximum juiciness.
The Power of the Brine: Why a Little Salt Makes a Huge Difference
Many home cooks skip brining, viewing it as an extra, unnecessary step or something reserved only for whole turkeys. This is a profound mistake, especially for lean cuts like chicken breast. Chicken breast has very little fat and connective tissue, making it highly susceptible to drying out. Brining, essentially soaking the chicken in a salt-and-water solution, works on two fundamental levels to combat this.
First, it helps denature the protein strands. The salt loosens and unravels the muscle fibers, allowing them to absorb and hold onto more moisture during cooking. This means your chicken starts with a higher moisture content, giving it a buffer against drying out. Second, and equally important, brining actually seasons the meat from the inside out. Instead of just a surface-level seasoning that often burns off, the salt penetrates the meat, resulting in a more flavorful and tender product. Even a quick 30-minute brine (1 tablespoon of salt per cup of water, enough to cover the chicken) can make a noticeable difference. For even better results, aim for 1-4 hours. The mistake I see most often is neglecting this simple, yet incredibly effective, pre-cooking step that acts as an insurance policy for juicy chicken.
The Uneven Thickness Conundrum: The Hidden Foe of Uniform Cooking
Take two chicken breasts directly from the package. It’s rare to find them perfectly uniform in thickness. Often, one end is significantly thicker than the other. When you cook these uneven pieces, the thinner parts will always cook faster than the thicker parts. By the time the thickest section reaches a safe internal temperature, the thinner sections are drastically overcooked and dry. This inconsistency is a major reason why parts of your chicken are succulent while others are tough.
The simple fix? Even thickness. There are two primary ways to achieve this: pounding or butterflying. Pounding involves placing the chicken breast between two sheets of plastic wrap or parchment paper and gently but firmly pounding it with a meat mallet (or a heavy-bottomed pan) until it’s about ½ to ¾ inch thick and uniform. This also tenderizes the meat. Butterflying involves slicing the chicken breast horizontally through its thickest part, almost but not entirely in half, then opening it like a book. You can then cook it as a larger, flatter piece, or continue to pound it slightly for even more uniformity. My experience has shown that taking these two minutes before cooking pays dividends in perfectly cooked chicken, every single time.
The Neglected Rest: Why Impatience Leads to Dryness
This is perhaps the most overlooked, yet absolutely critical, step in cooking any protein, especially lean chicken breast. Many home cooks are so eager to eat, or so worried about the food getting cold, that they cut into the chicken immediately after taking it off the heat. This is a fundamental error that guarantees dry chicken. When meat cooks, the muscle fibers contract, squeezing the juices towards the center. If you slice into it right away, all those precious juices—the very essence of tenderness and flavor—will rush out onto your cutting board, leaving the meat itself dry and stringy.
The solution is simple: rest your chicken. After removing it from the heat, transfer it to a cutting board, tent it loosely with foil (don’t wrap tightly, or it will continue to steam and overcook), and let it rest for at least 5-10 minutes. For larger breasts, even 10-15 minutes can be beneficial. During this resting period, two crucial things happen: the internal temperature will safely rise to 165°F (if you pulled it at 160°F), and the muscle fibers will relax, allowing the juices to redistribute evenly throughout the meat. This means when you finally slice into it, those juices stay locked within the chicken, resulting in a noticeably more tender, succulent, and flavorful bite. Trust me, the wait is worth it.
Frequently Asked Questions
Q: Do I need to rinse chicken after brining it?
A: No, rinsing chicken after brining is generally not necessary and can increase the risk of cross-contamination in your kitchen. Simply pat the chicken dry thoroughly with paper towels before cooking. This helps achieve a better sear and crispier skin if you’re cooking with skin on.
Q: Can I use frozen chicken breasts for these techniques?
A: Yes, but you must fully thaw the chicken breasts first. Brining and even thickness preparation (pounding/butterflying) cannot be effectively done with frozen or partially frozen chicken. Thaw them overnight in the refrigerator for best results.
Q: What if I don’t have an instant-read thermometer?
A: While an instant-read thermometer is highly recommended as a game-changer for consistently perfect results, if you don’t have one, you can still improve your chicken by focusing on brining, even thickness, and resting. However, the exact doneness will be harder to gauge, and you might still rely on visual cues, which carry a higher risk of overcooking. Consider it an essential kitchen tool worth the small investment.
Q: Can I brine chicken for too long?
A: Yes, you can over-brine, especially with stronger brine solutions or very thin cuts. If brined for too long (e.g., more than 8-12 hours for a standard breast, or longer in a very strong solution), the chicken can become too salty and develop a somewhat mushy texture. Stick to the recommended times for optimal results.
Q: Does searing before baking help prevent overcooking?
A: Searing before baking (or vice versa, often called reverse searing) is an excellent technique for chicken breast. Searing creates a flavorful, browned crust, while finishing in the oven provides a more gentle, even heat, reducing the risk of drying out the exterior while the interior cooks. This combination often leads to a more uniform cook and better texture than just pan-frying alone.
Achieving perfectly juicy chicken breast isn’t a dark art reserved for professional chefs. It’s about understanding the science, breaking old habits, and embracing a few simple, actionable steps. By investing in an instant-read thermometer, committing to a quick brine, ensuring even thickness, and respecting the crucial resting period, you’ll transform your chicken breast from a culinary frustration into a consistent triumph. Go forth and cook with confidence – your taste buds will thank you. Start by brining your chicken tonight, and notice the difference.
Written by Marcus Thorne
Technical skills, kitchen science, and equipment reviews
A culinary school instructor renowned for demystifying classic techniques and making them accessible.
You Might Also Like

Why Most Home Cooks Fail at Caramelizing Onions (And The Unconventional Tricks That Actually Work)
Discover why your caramelized onions often fall short and learn unconventional methods for deep, rich, perfectly sweet and savory results every time. Unlock true flavor.
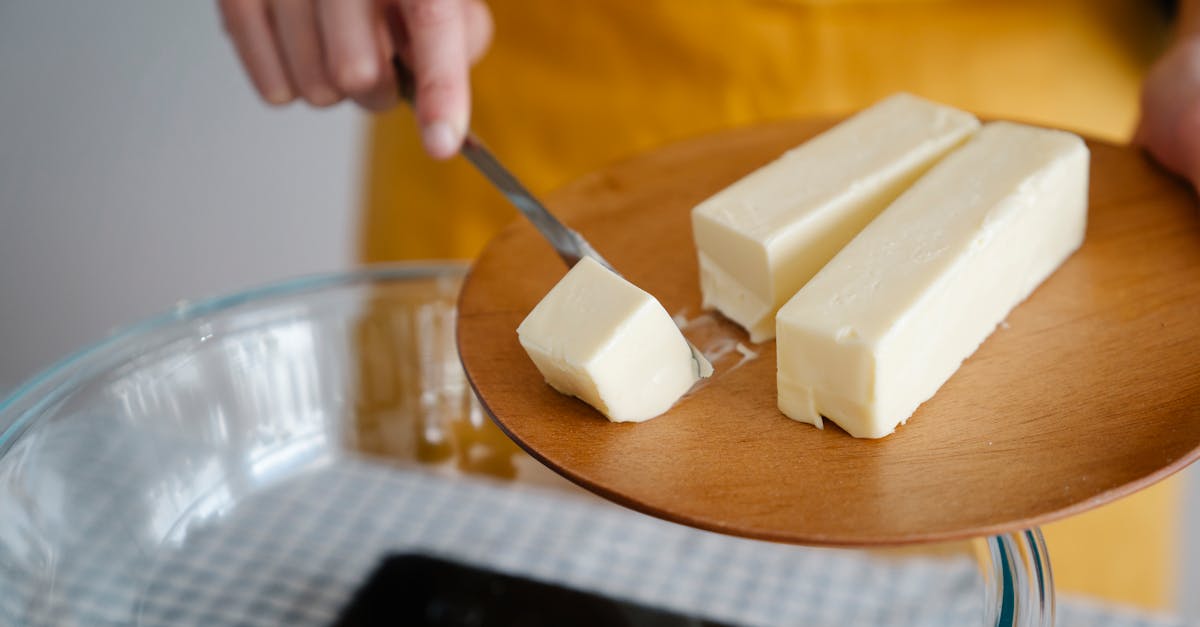
The Hidden Truth About Healthy Fats: Why Many Home Cooks Are Still Getting It Wrong
Unlock the secrets to healthy cooking fats. Learn which oils to really use, which to avoid, and why your current choices might be sabotaging your meals.

Why Most Home Bakers Overmix Dough (And The Simple Fixes That Guarantee Perfect Texture)
Discover the common pitfalls of overmixing dough and how slight adjustments to your technique can drastically improve your baked goods' texture.